Model: IDX-3
Date: 2026-07-18
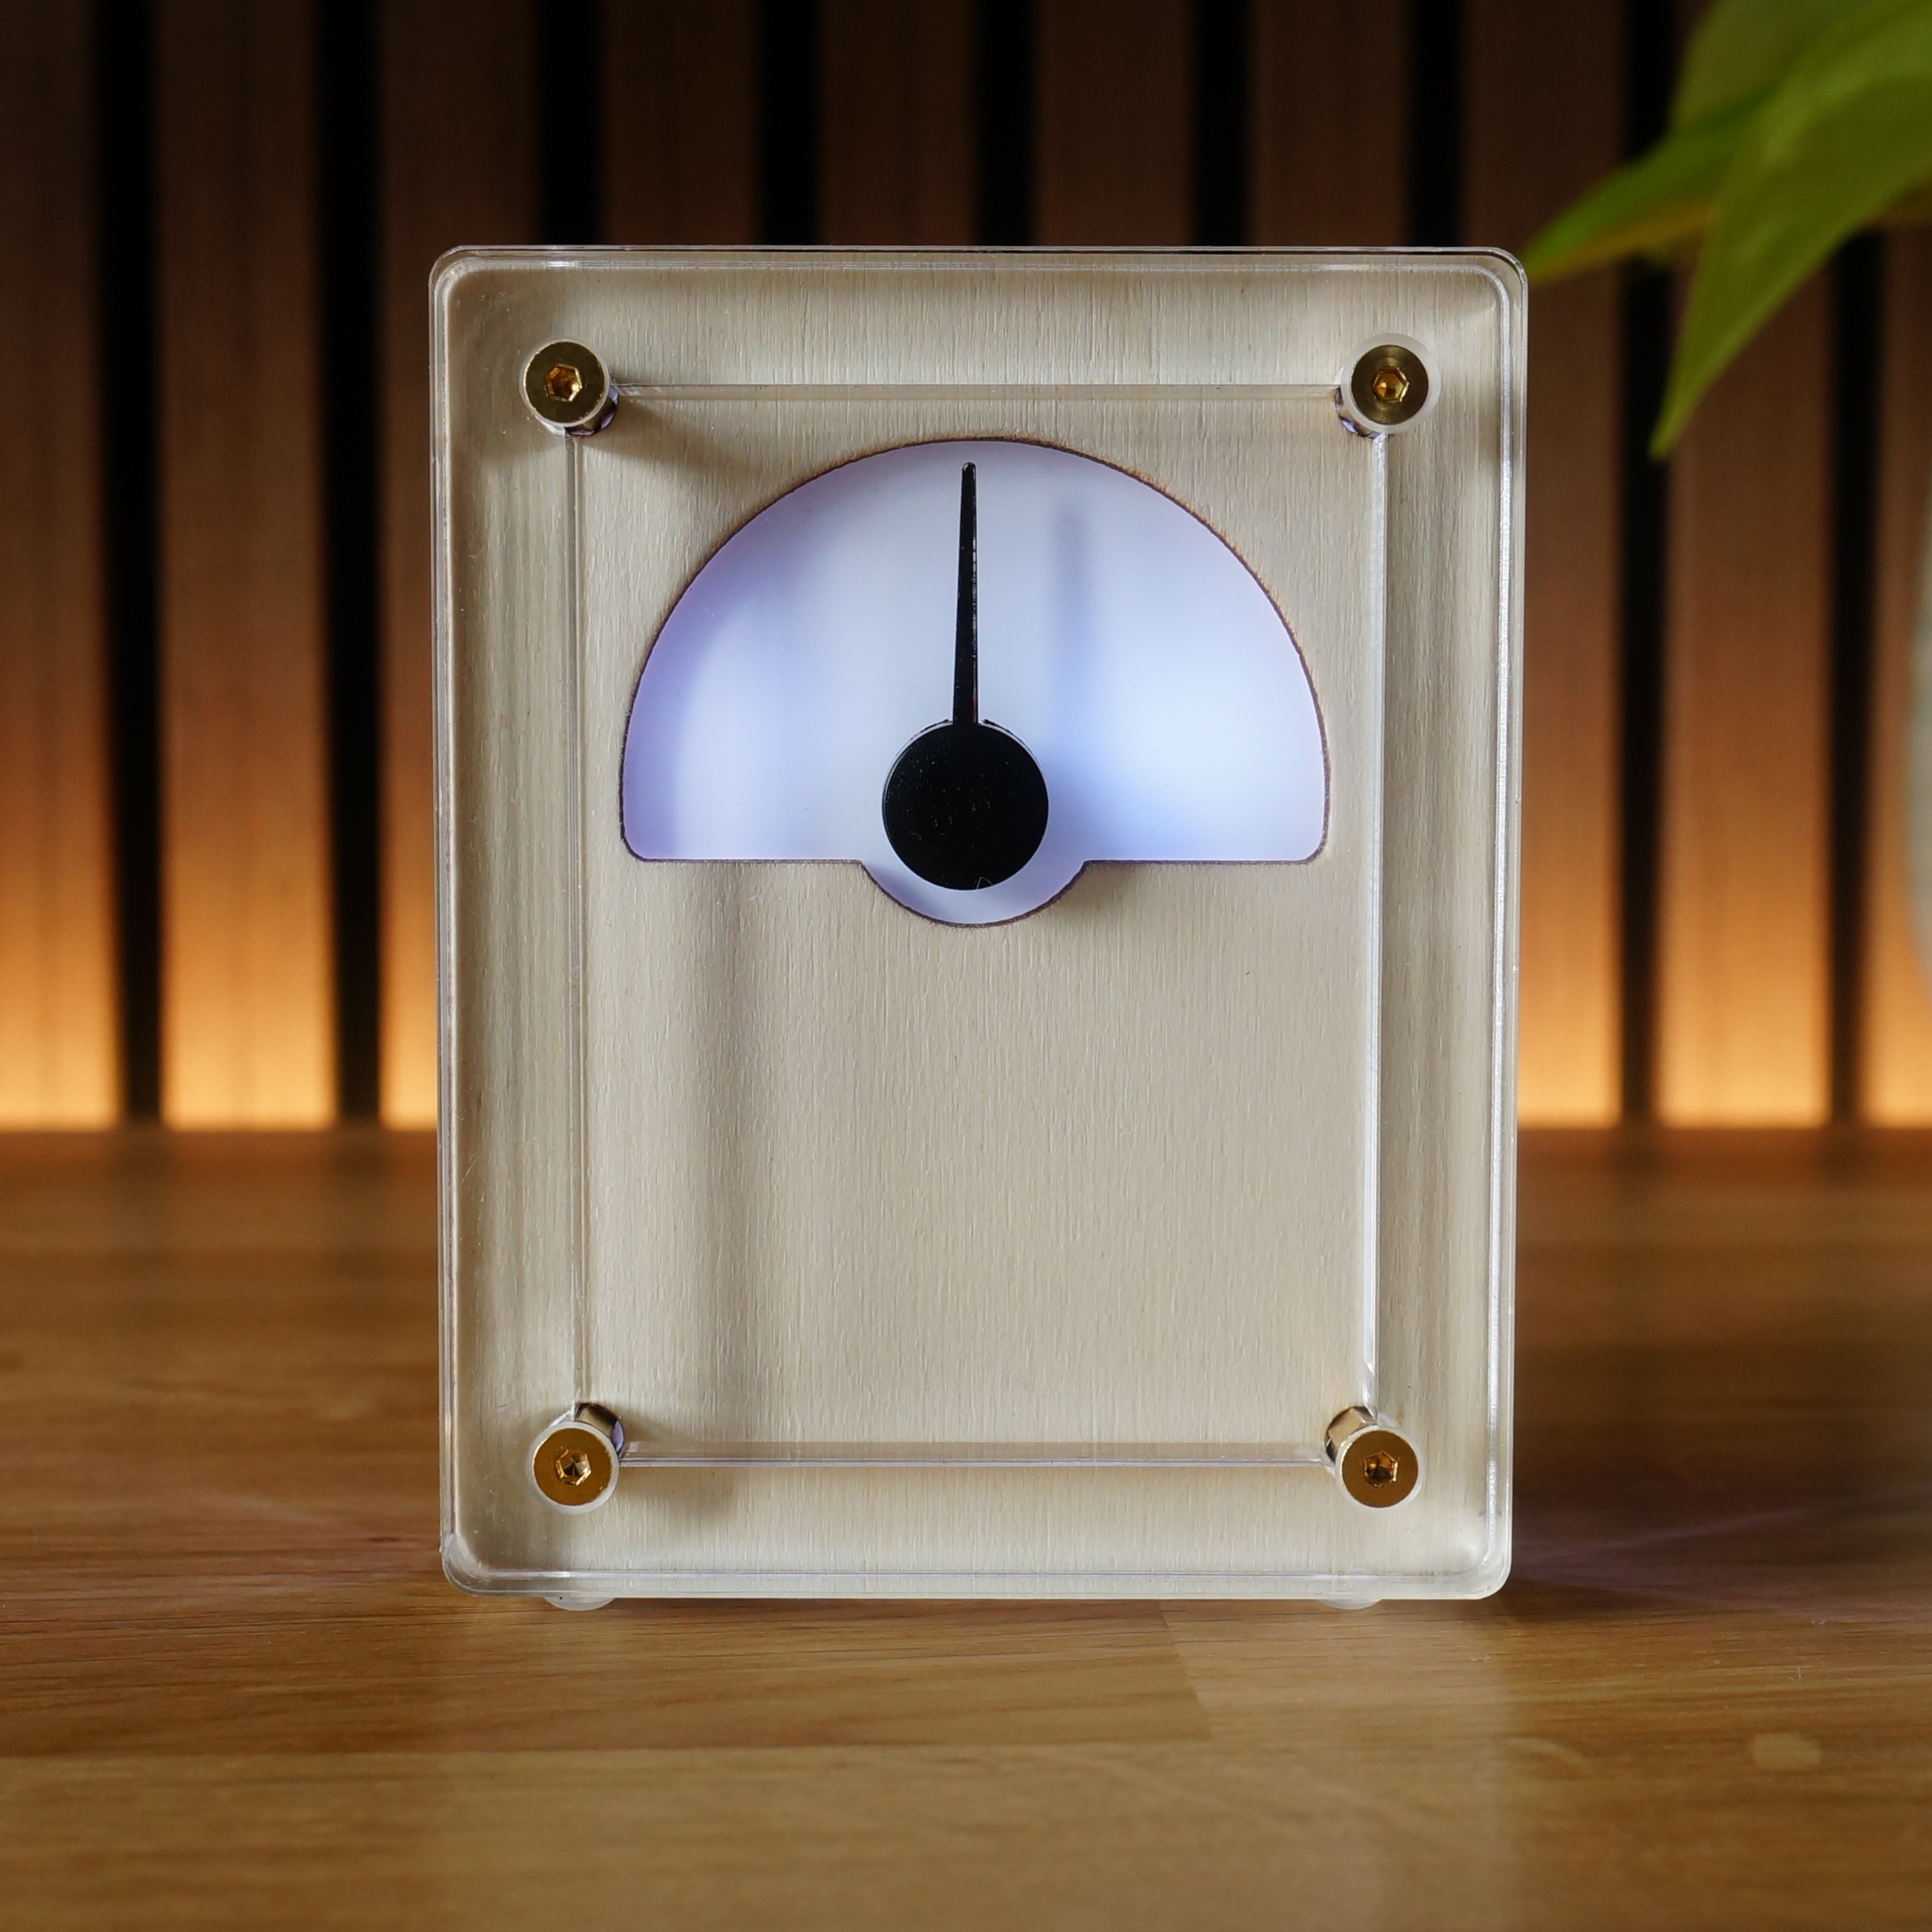
IDX bridges the gap between the ephemeral nature of digital data and the tactile permanence of instrumentation. Whether tracking market volatility or environmental signals, you now have a physical anchor for your most important data.
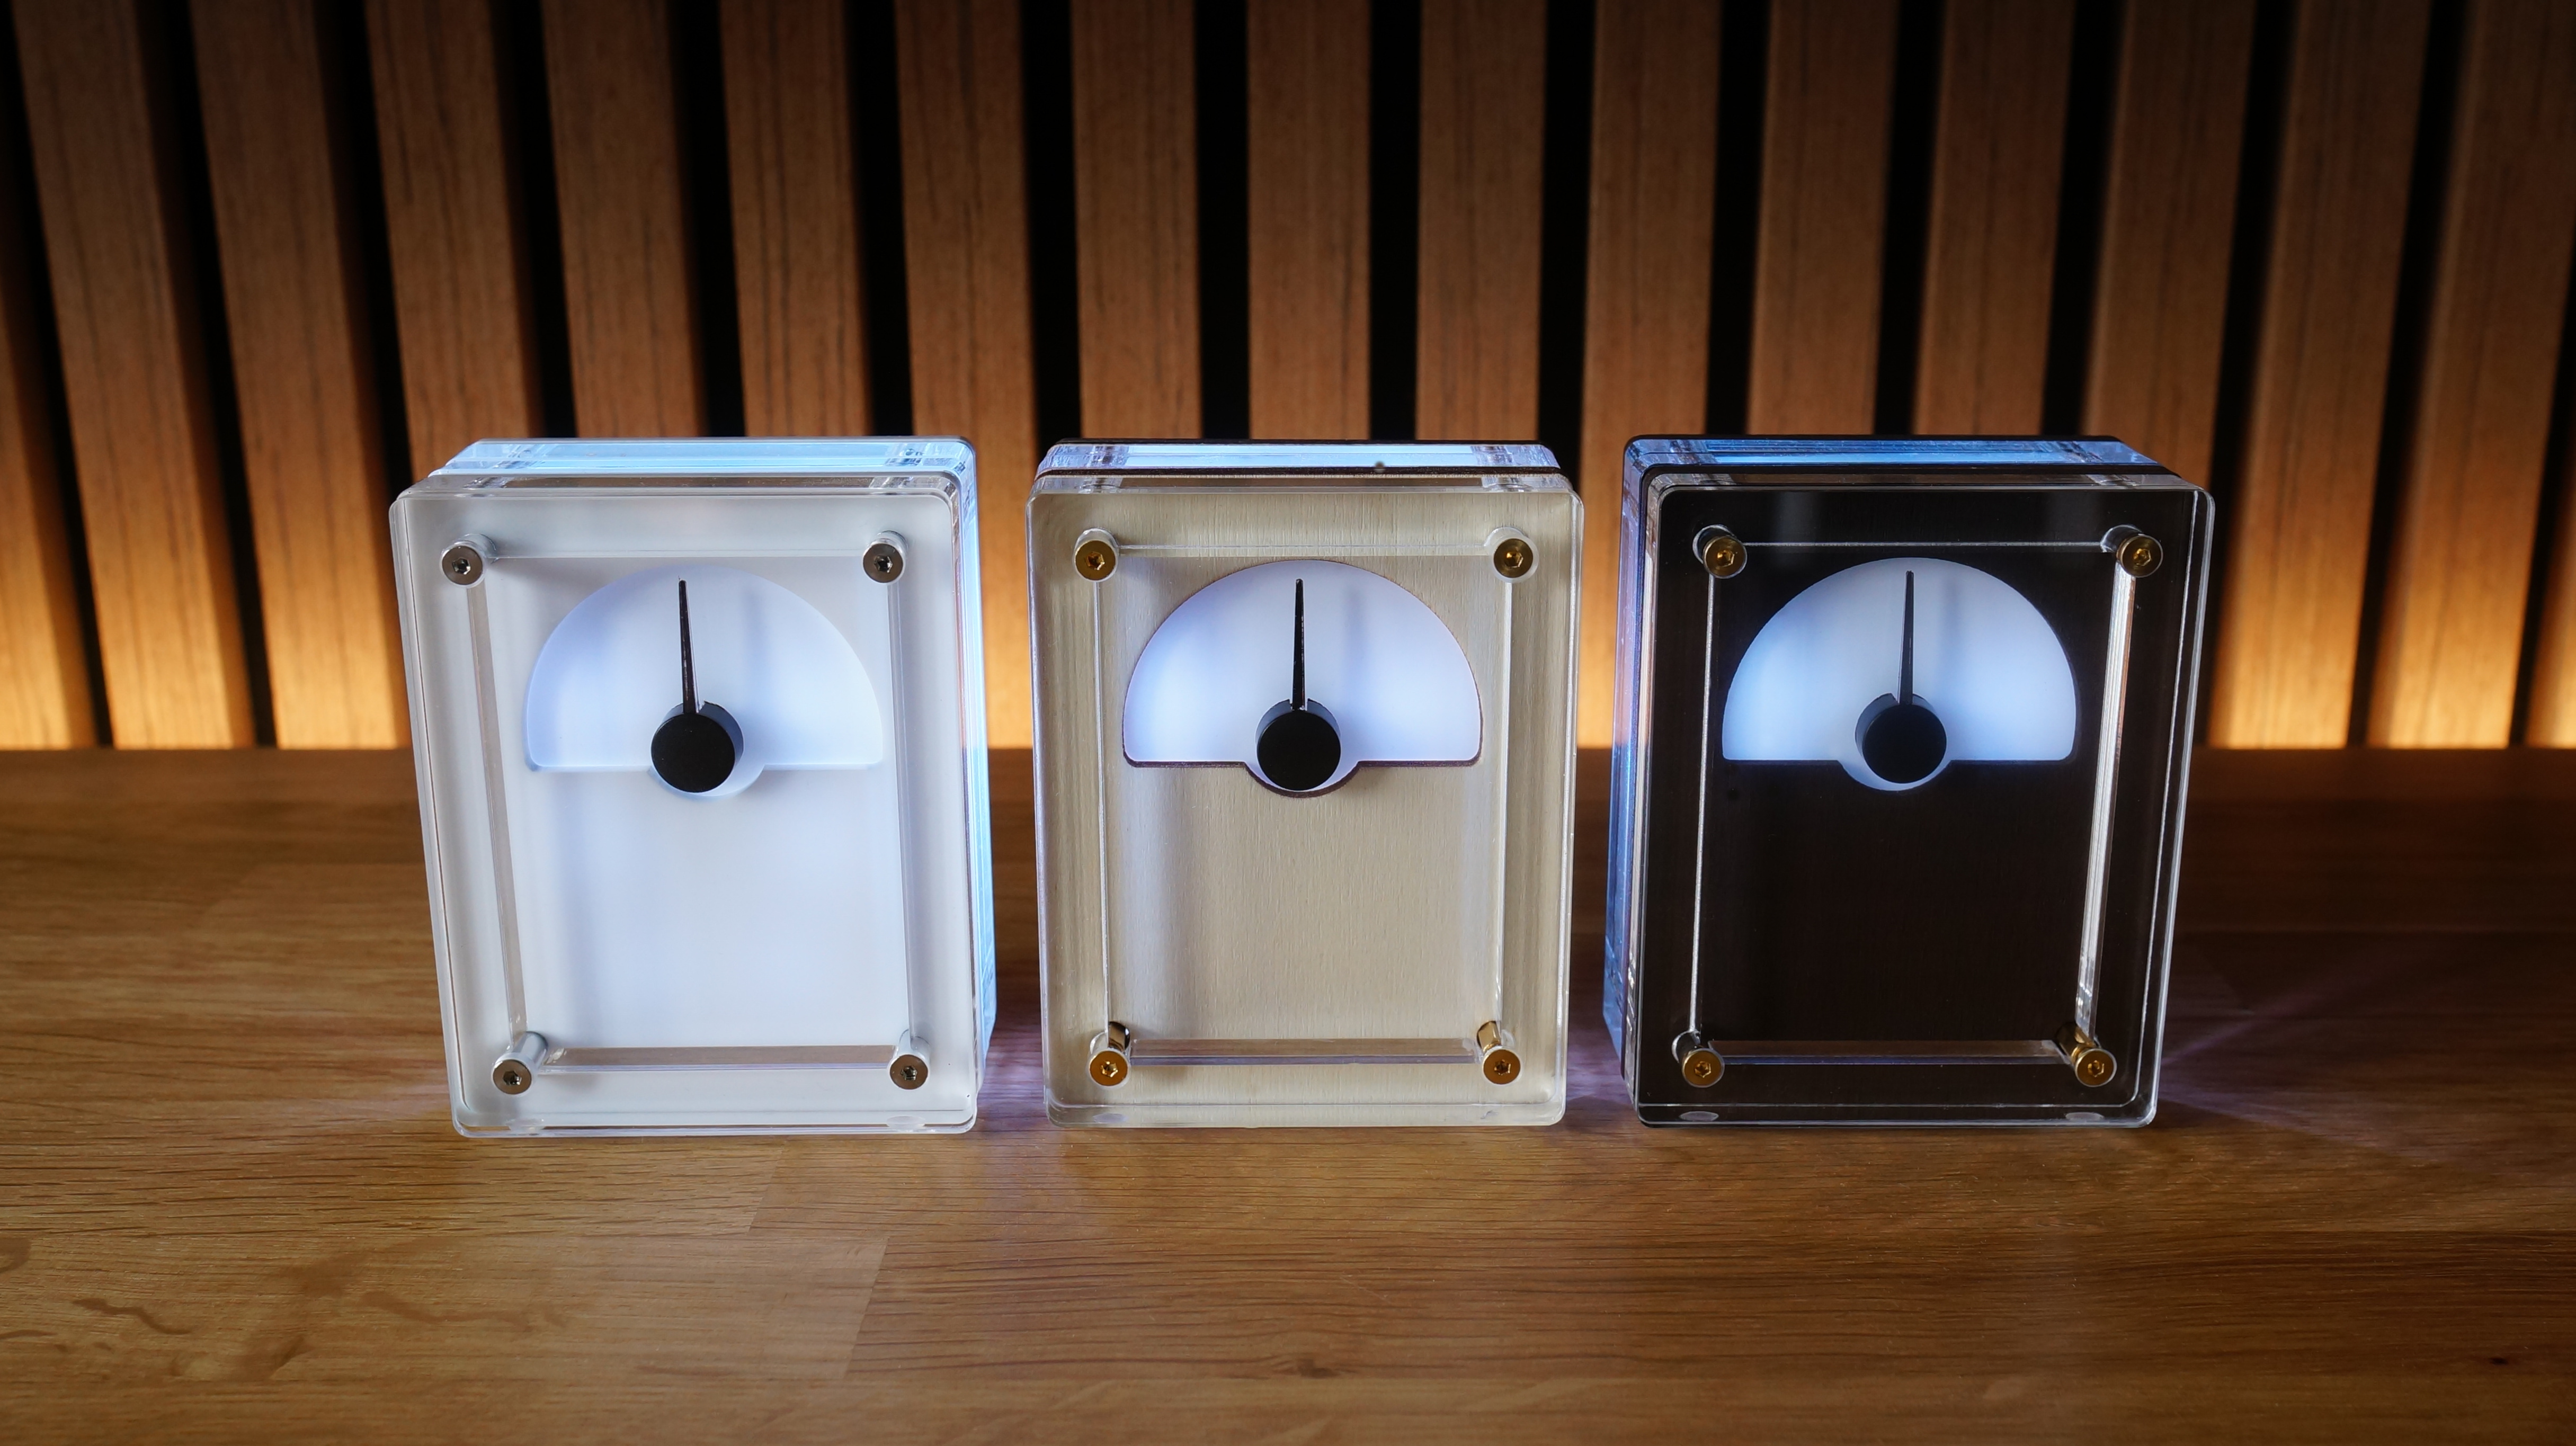
Available in three finishes: Alba, Nordic, and Sanctuary.
We believe in open architecture.
Before powering the device for the first time, please note:
IDX_setup.http://192.168.4.1.analoguedeskco if challenged.IDX will cycle through several phases indicated by color:
Access the internal dashboard via your web browser to customize your device.
Note: If the page doesn't load, refresh the browser or try again in a few seconds. IDX has a low power processor which can take a few tries to wake up.
Choose what data source IDX references.
By default, IDX ships in HN Hotness MODE, no keys, location or configuration required. The needle shows the hotness of the Hacker News front page as a percentage: the current #1 story's score measured against a 500-point cap (by default), so 100% means the top story has passed 500 points. It pairs with the Percentage (0–100) insert. We chose this MODE as the default because it drifts gently through the day as the top story rises and is eventually displaced.
Each MODE provides a mapping from its value to a 0-1 range, which defines the position of the pointer. Default values are shown below.
| MODE | MIN VALUE | MID POINT | MAX VALUE | NOTES |
|---|---|---|---|---|
| Air Quality Index | 0 | 50 | 100 | Absolute AQI scale, based on your city location. |
| Alt.me Fear & Greed Index | 0 | 50 | 100 | Absolute sentiment index (0 = extreme fear, 100 = extreme greed). |
| CMC Crypto Tracker | -5% | 0% | +5% | Relative 24h price change; centre is no change. CMC API key required. |
| CMC Fear & Greed Index | 0 | 50 | 100 | Absolute sentiment index. CMC API key required. |
| 12-hour Sweep | 12.00 | 06.00 | 11.59 | Sweeps through 180 degrees in 12h |
| 24-hour Sweep | 10.00 | 12.00 | 23.59 | Sweeps through 180 degrees in 24h |
| Finnhub Stock Tracker | -5% | 0% | +5% | Relative 24h price change; centre is no change. |
| HN Hotness | 0% | 50% | 100% | Default. Hacker News front-page hotness — #1 story score against a maximum value (500 points by default). Pairs with the 0–100 insert. |
| Home Assistant | 0 | 50 | 100 | Maps any numeric entity state from your local Homa Assistant instance. For indoor temperature, choose a range like 9-25C |
| Pomodoro Timer | 0 | 12m30s | 25m | Focus sweep toward task completion (counts down). Minutes. |
| Temperature | -10C | 15C | 40C | Maps a OpenMeteo temperature report for your city location. |
The rotation of the pointer is defined by a position value between 0 (MIN) and 1 (MAX).
The table above shows each mode's mapping.
You can also go to ADVANCED / DIAGNOSTICS / EVENT LOG in the UI to see the real-time value generated by the current mode.
Optionally, pick a gauge insert (see below) whose printed MIN/MID/MAX labels match the mode you've selected, so the scale on the dial reads correctly. You can also create your own custom inserts.
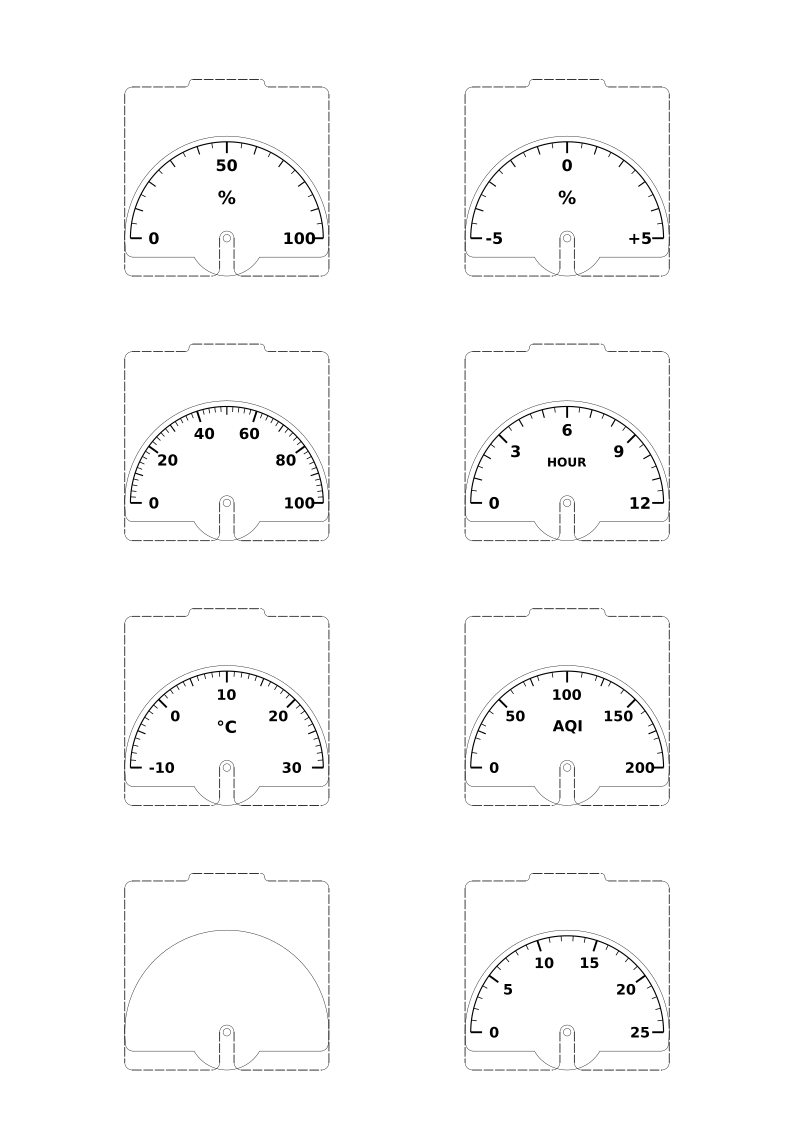
IDX accepts a swappable, printed face-insert behind the needle, so the dial always reads correctly for whatever MODE you're tracking.
A sheet of eight pre-cut inserts is provided:
| Insert | Scale | Suits |
|---|---|---|
| Percentage | 0 – 100% | HN Hotness (default), Home Assistant, generic 0-100 sources |
| Relative % | -5% – +5% | Stock / Crypto Tracker |
| Percentage (fine) | 0 – 100% (20-step) | Home Assistant, generic 0-100 sources |
| 12-Hour Clock | 0 – 12 HOUR | Clock (12h) |
| Temperature | -10°C – 30°C | Temperature |
| Air Quality | 0 – 200 AQI | Air Quality Index |
| Blank | — | Custom labelling by hand |
| Generic Scale | 0 – 25 | Pomodoro Timer (minutes), custom sources |
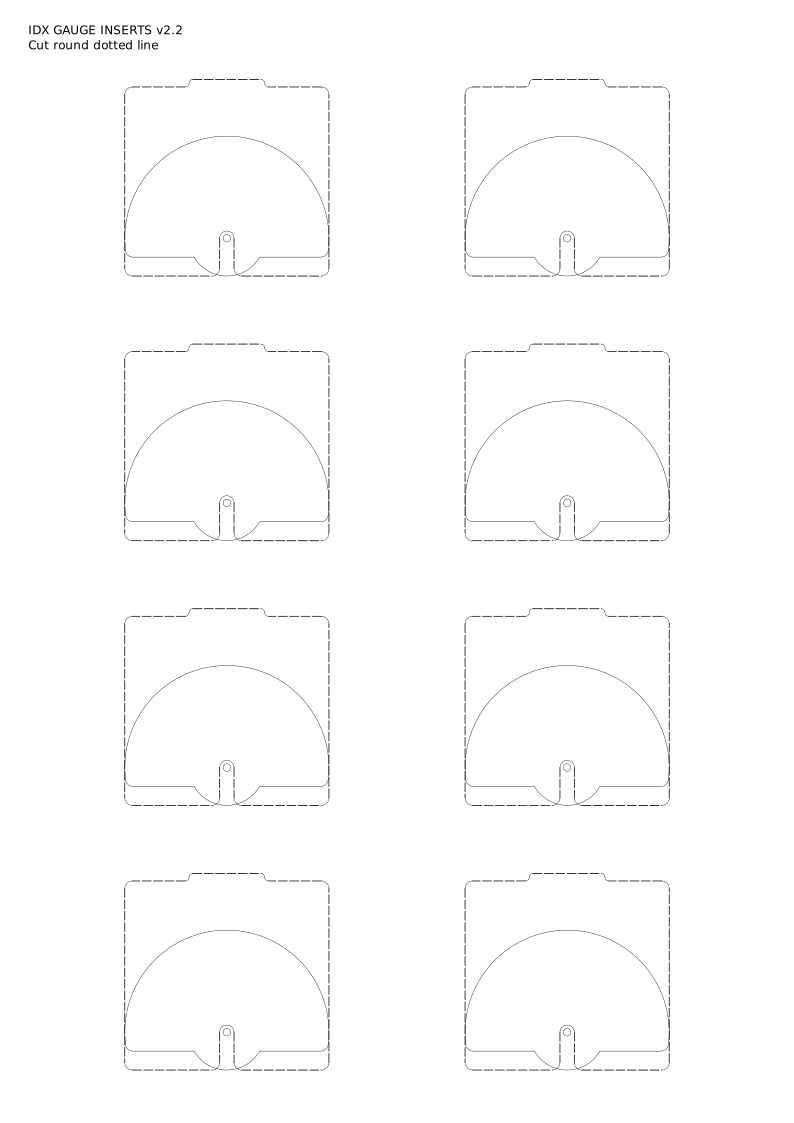
Prefer to design your own? Both the pre-designed sheet and a blank template are available as vector (SVG) and print-ready (PDF) files, as a starting point:
IDX_inserts_dials_v3.pdf · IDX_inserts_dials_v3.svg
IDX_gauge_inserts_blank_v2.2.pdf · IDX_gauge_inserts_blank_v2.2.svg
Print on transparent stock (acetate), then cut along the dotted line.
Tools required: 2mm hex key.
Remove circular faceplate
Add gauge insert
Refit gauge faceplate
We recommend long CYCLE DURATIONS (e.g., 600 seconds) for maximum calm.
| Theme | Effect |
|---|---|
| Static | A single unchanging colour of your choice. |
| Pulse | Slowly undulating; like breathing. |
| Glacial | Breathless whites and ice blues. |
| Aurora | Electromagnetic storms of green and blue. |
| Nebula | Deep space in blue and purple. |
| Sunset | Soothing end-of-day colours. |
| Sentiment | Red (left), Green (right). Best for market trackers. Colours can be adjusted. |
| Alert | White, until a threshold is reached, then red |
IDX is built on an open architecture.
| Component | Function | ESP32-C3 Pin |
|---|---|---|
| Stepper Motor | Coil A (1) | GPIO 00 |
| Stepper Motor | Coil A (2) | GPIO 01 |
| Stepper Motor | Coil B (1) | GPIO 06 |
| Stepper Motor | Coil B (2) | GPIO 07 |
| RGB LEDs | Data | GPIO 08 |
| Button | Reset | GPIO 09 |
IDX supports ESPHome as an alternative firmware, giving full control to Home Assistant.
The ESPHome configuration files required to build the firmware binary are available at github.com/analoguedeskco/esphome. Compile these using the ESPHome dashboard or CLI to produce a .bin, then flash via web.esphome.io
Once flashed, IDX appears as a native Home Assistant device — the needle and LEDs are exposed as standard entities and can be driven by any HA automation.
To switch back to the stock firmware, contact support (see below).
Support: