Setup
Select your device
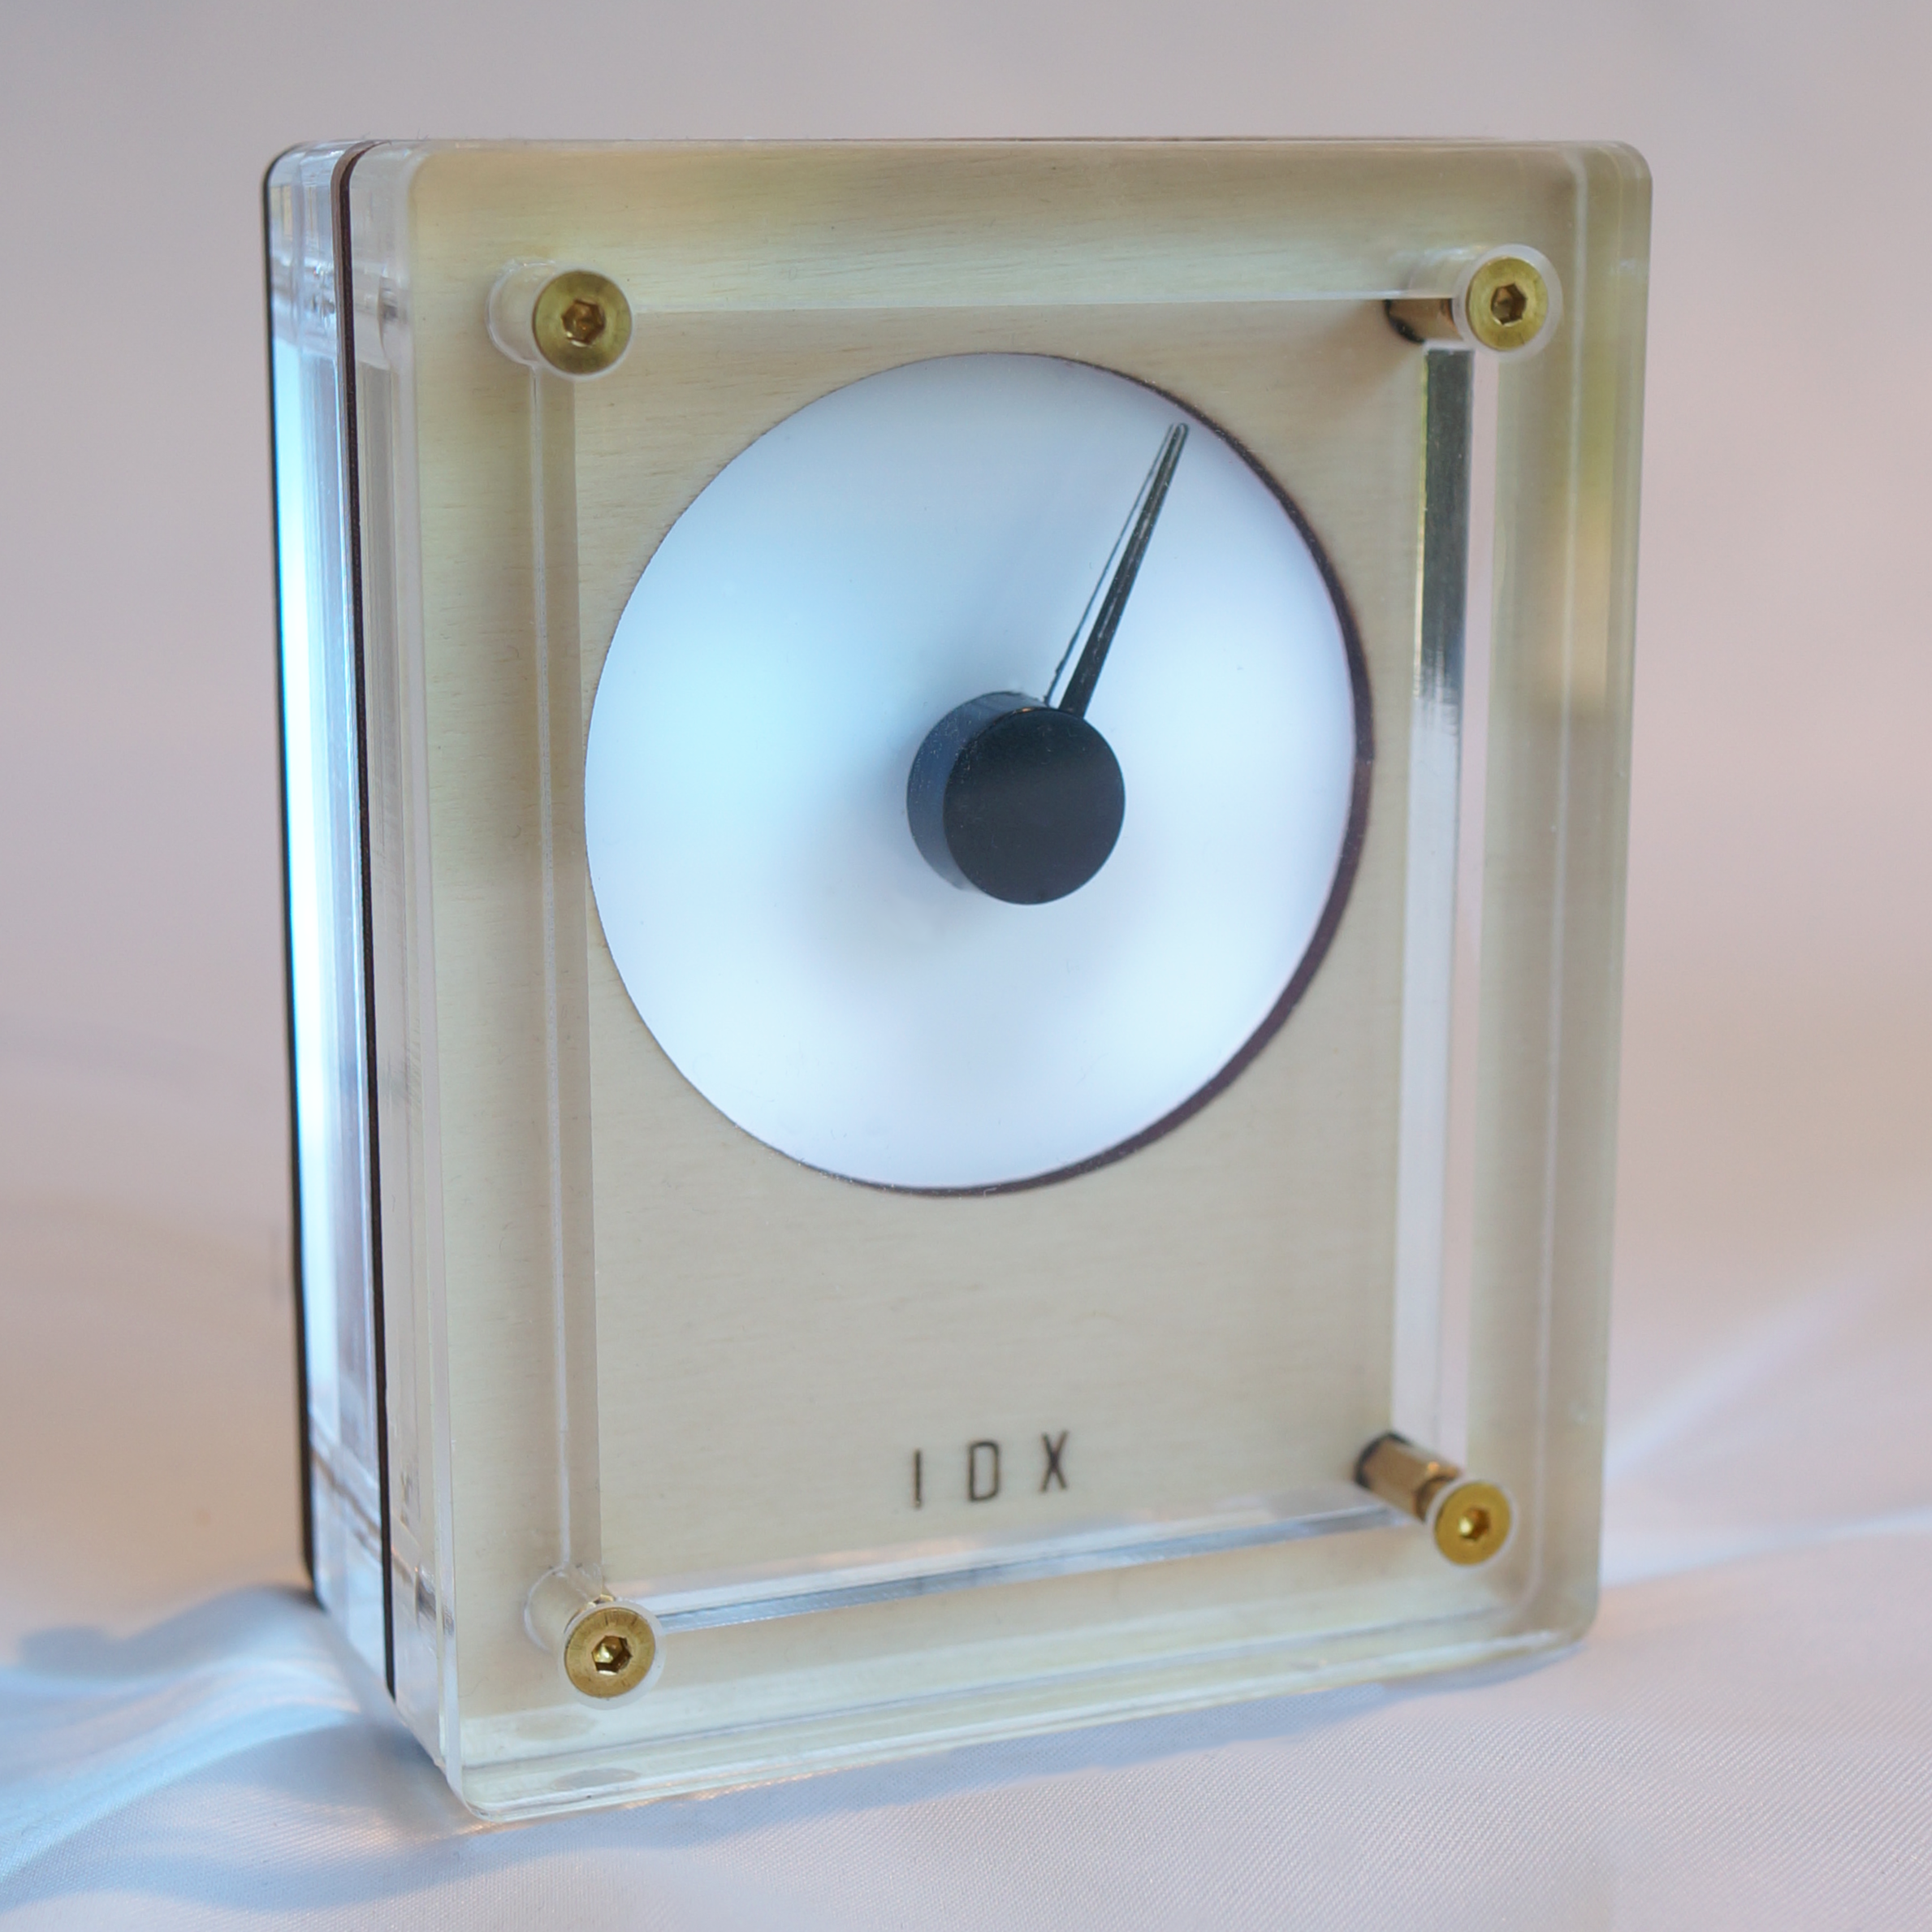
IDX-1
IDX-2
IDX-3
Alternatively:
ESPHome